

Create professional-looking interior design renderings with AI
So you can pitch your harebrained ideas to your husband with greater success.


Recently, Lauren Caron—an interior designer whose work I really admire—shared some Instagram stories about using ChatGPT to create a quick rendering of a design idea she had for her guest room. The example she posted kind of blew my mind and sent me running to ChatGPT to play around with creating some renderings myself.
After spending a few hours testing out prompts and trialing some approaches, here’s what I’ve decided: this is 100% going to change the way I approach planning for design projects in my house, and I want to share it with everyone.
I’ll start by listing out some tips and tricks I compiled while playing around with this process, then I’ll show a deep-dive example of how I created the above rendering for my kitchen nook.
Tips and tricks
You’ll need a ChatGPT plus account for this, and I found the 4o model worked best.
Start off by telling Chat what you’re doing: “I’m an interior designer making a professional rendering of a room.”
Prompt it to make one change at a time. Multiple changes = wonky outputs.
Use the word “swap” to prompt it to change one finish for another. Include a reference image when you have it.
Add the phrase “change nothing else about the photo” to each prompt, otherwise you’ll get random changes you didn’t ask for.
Enter a text-only response after each output so you can easily go back to that spot and edit to start again (you can’t edit prompts with images).
If the renderings start to skew to warm or cool, ask it to adjust the lighting.
When you think you’re done, you can ask Chat to describe the style of the room to you. This can be a good gut check on if you’ve achieved what you were going for.
An example: my kitchen nook
For this experiment, I wanted to play around with my kitchen nook space. This is a photo of what it looks like today:
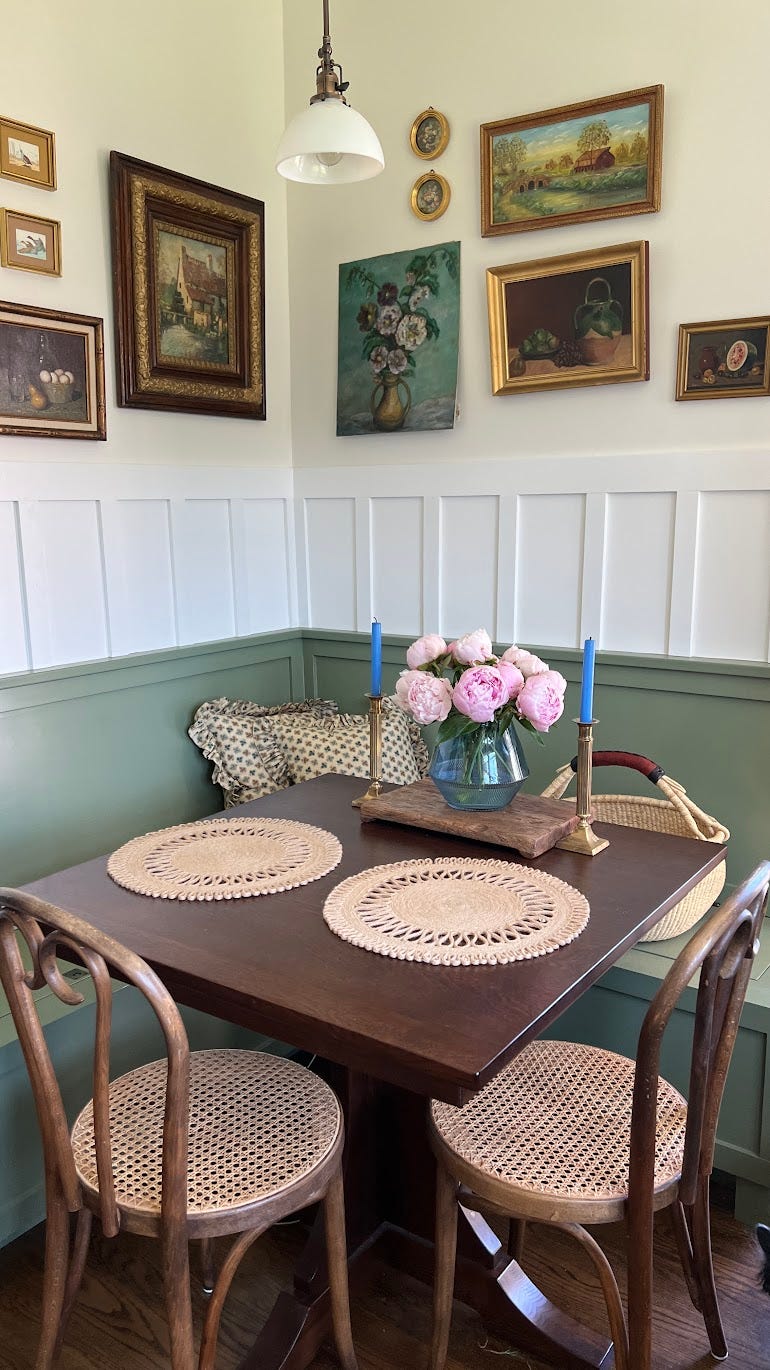
She’s cute, but she’s very much not intentionally designed. When we moved in, the built-in bench and table were here, as were the paint colors. I added a pair of caned bentwood chairs (thanks Facebook Marketplace!) and threw up a quick gallery wall—all things we already had lying around.
Since then, I’ve amassed a collection of antique English ironstone plates, and I’ve been looking for a good pace to display them. I’ve also been wanting to add an upholstered cushion to the bench seat for added comfort and softness as well as maybe swap out the light fixture.
Typically when I’m making a design plan, I’ll pull together the textiles, fixtures, paint colors, etc. in a mood board in Photoshop. It provides a good sense of overall vision, but doesn’t really do a good job of showing exactly how the room will look. I’ve always wished I had SketchUp skills so I could see how everything will come together in a more realistic way. Enter: ChatGPT.
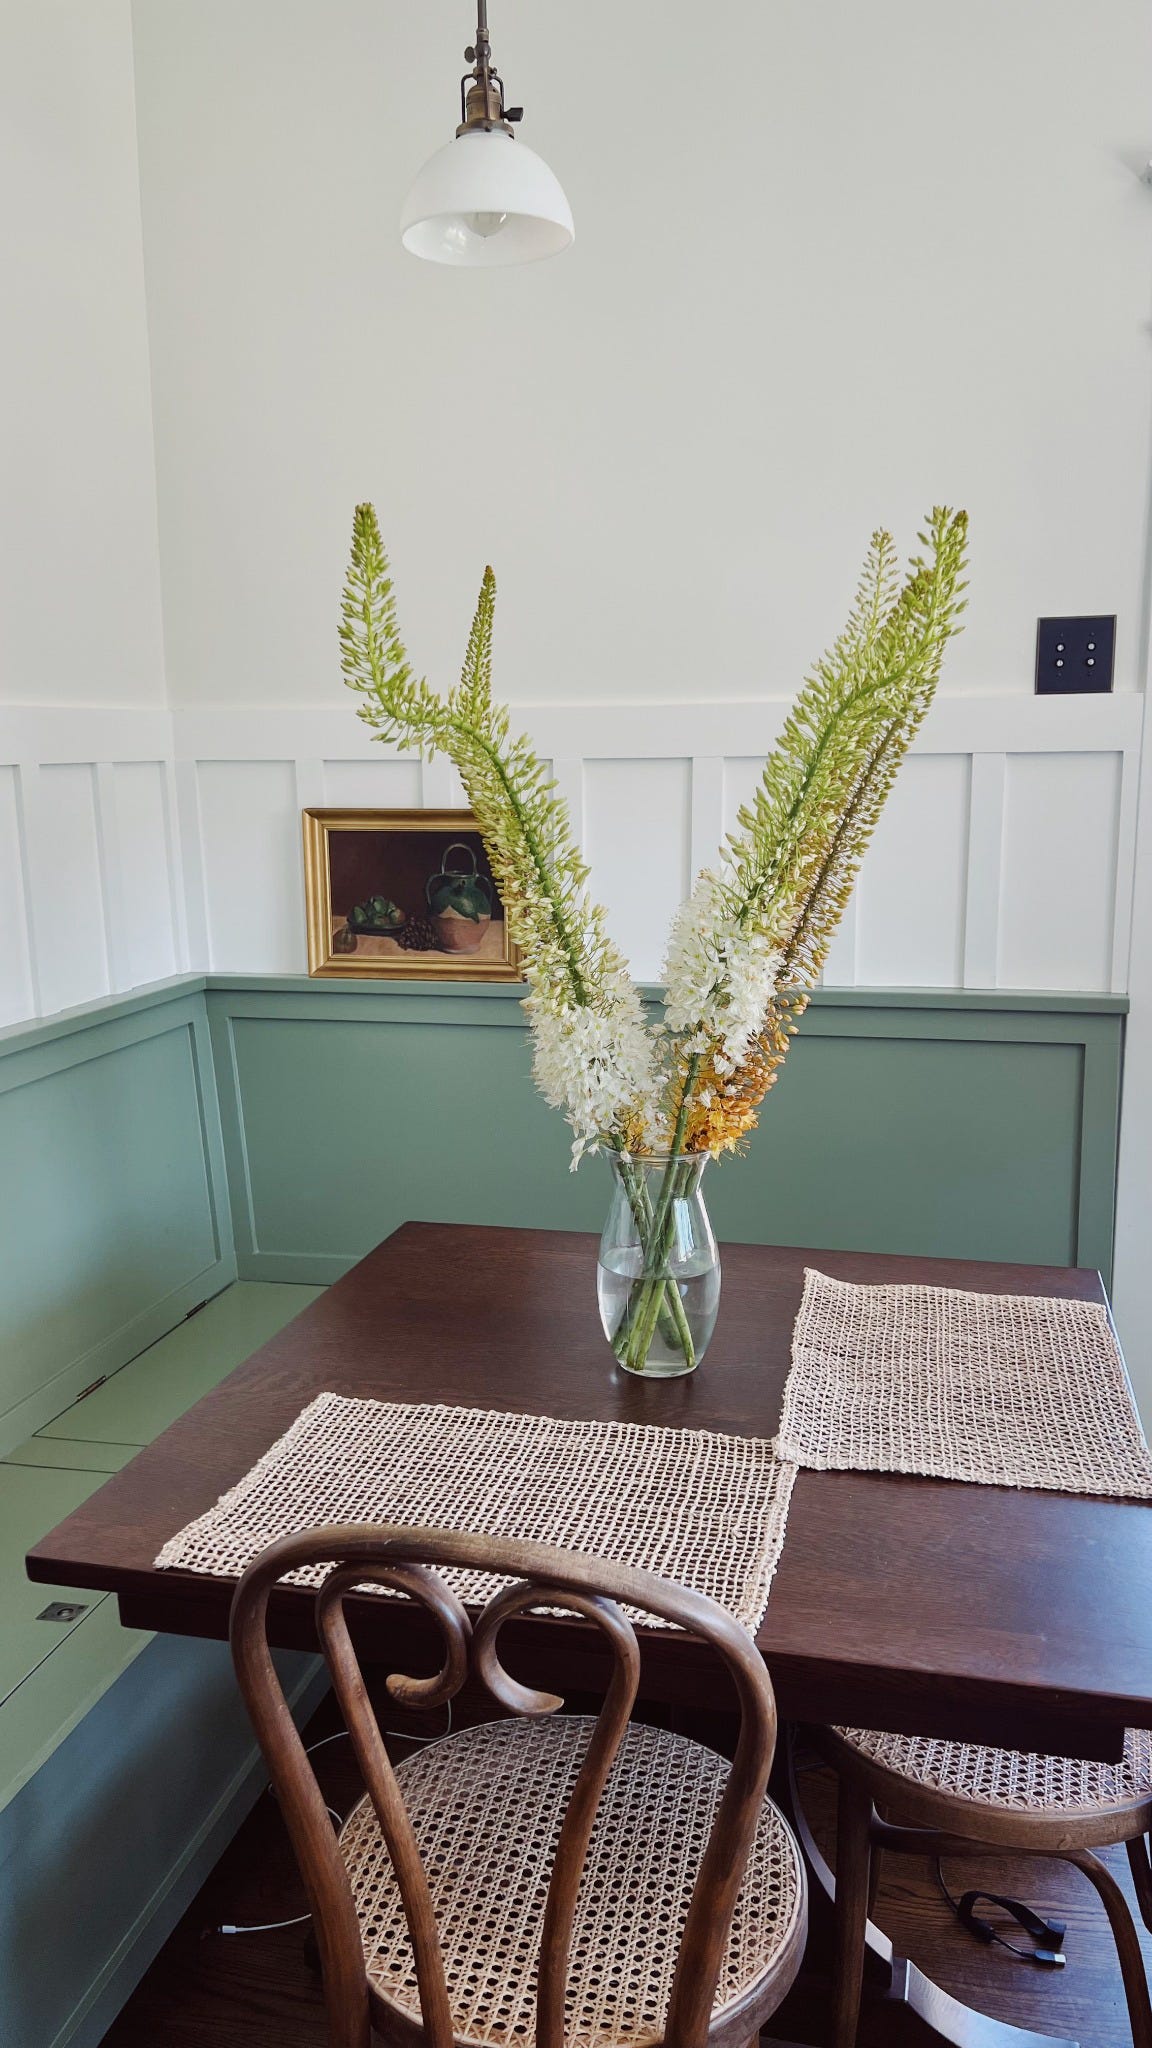
To get started, I told Chat that I was “an interior designer making a professional rendering of a room.” Then I uploaded a relatively clear, empty photo of the room.
I first asked ChatGPT to remove everything from the wall and the table.
Then, I made one change at a time, using the prompt template of, “I want to swap the [finish] on the [item] with this [fabric/light fixture/etc]” with an attached image of the item I wanted to see in the room. I also made sure to specify that I didn’t want Chat to make any other changes to my photo. Sometimes this worked and sometimes it didn’t.
One key thing I learned is that you can’t edit prompts that contain images. This is important, because if you go down a path you don’t like and you want to return to a previous version of a rendering, the only way I’ve found to do that is by editing the prompt directly after the version you want to return to. This will erase everything that had been generated after that prompt, so you can start fresh from that point. To give myself maximum flexibly in this process, I started responding to each rendering with a text-only prompt like, “looks good” or “try again.” This allowed me to always have the option of returning to any given version.
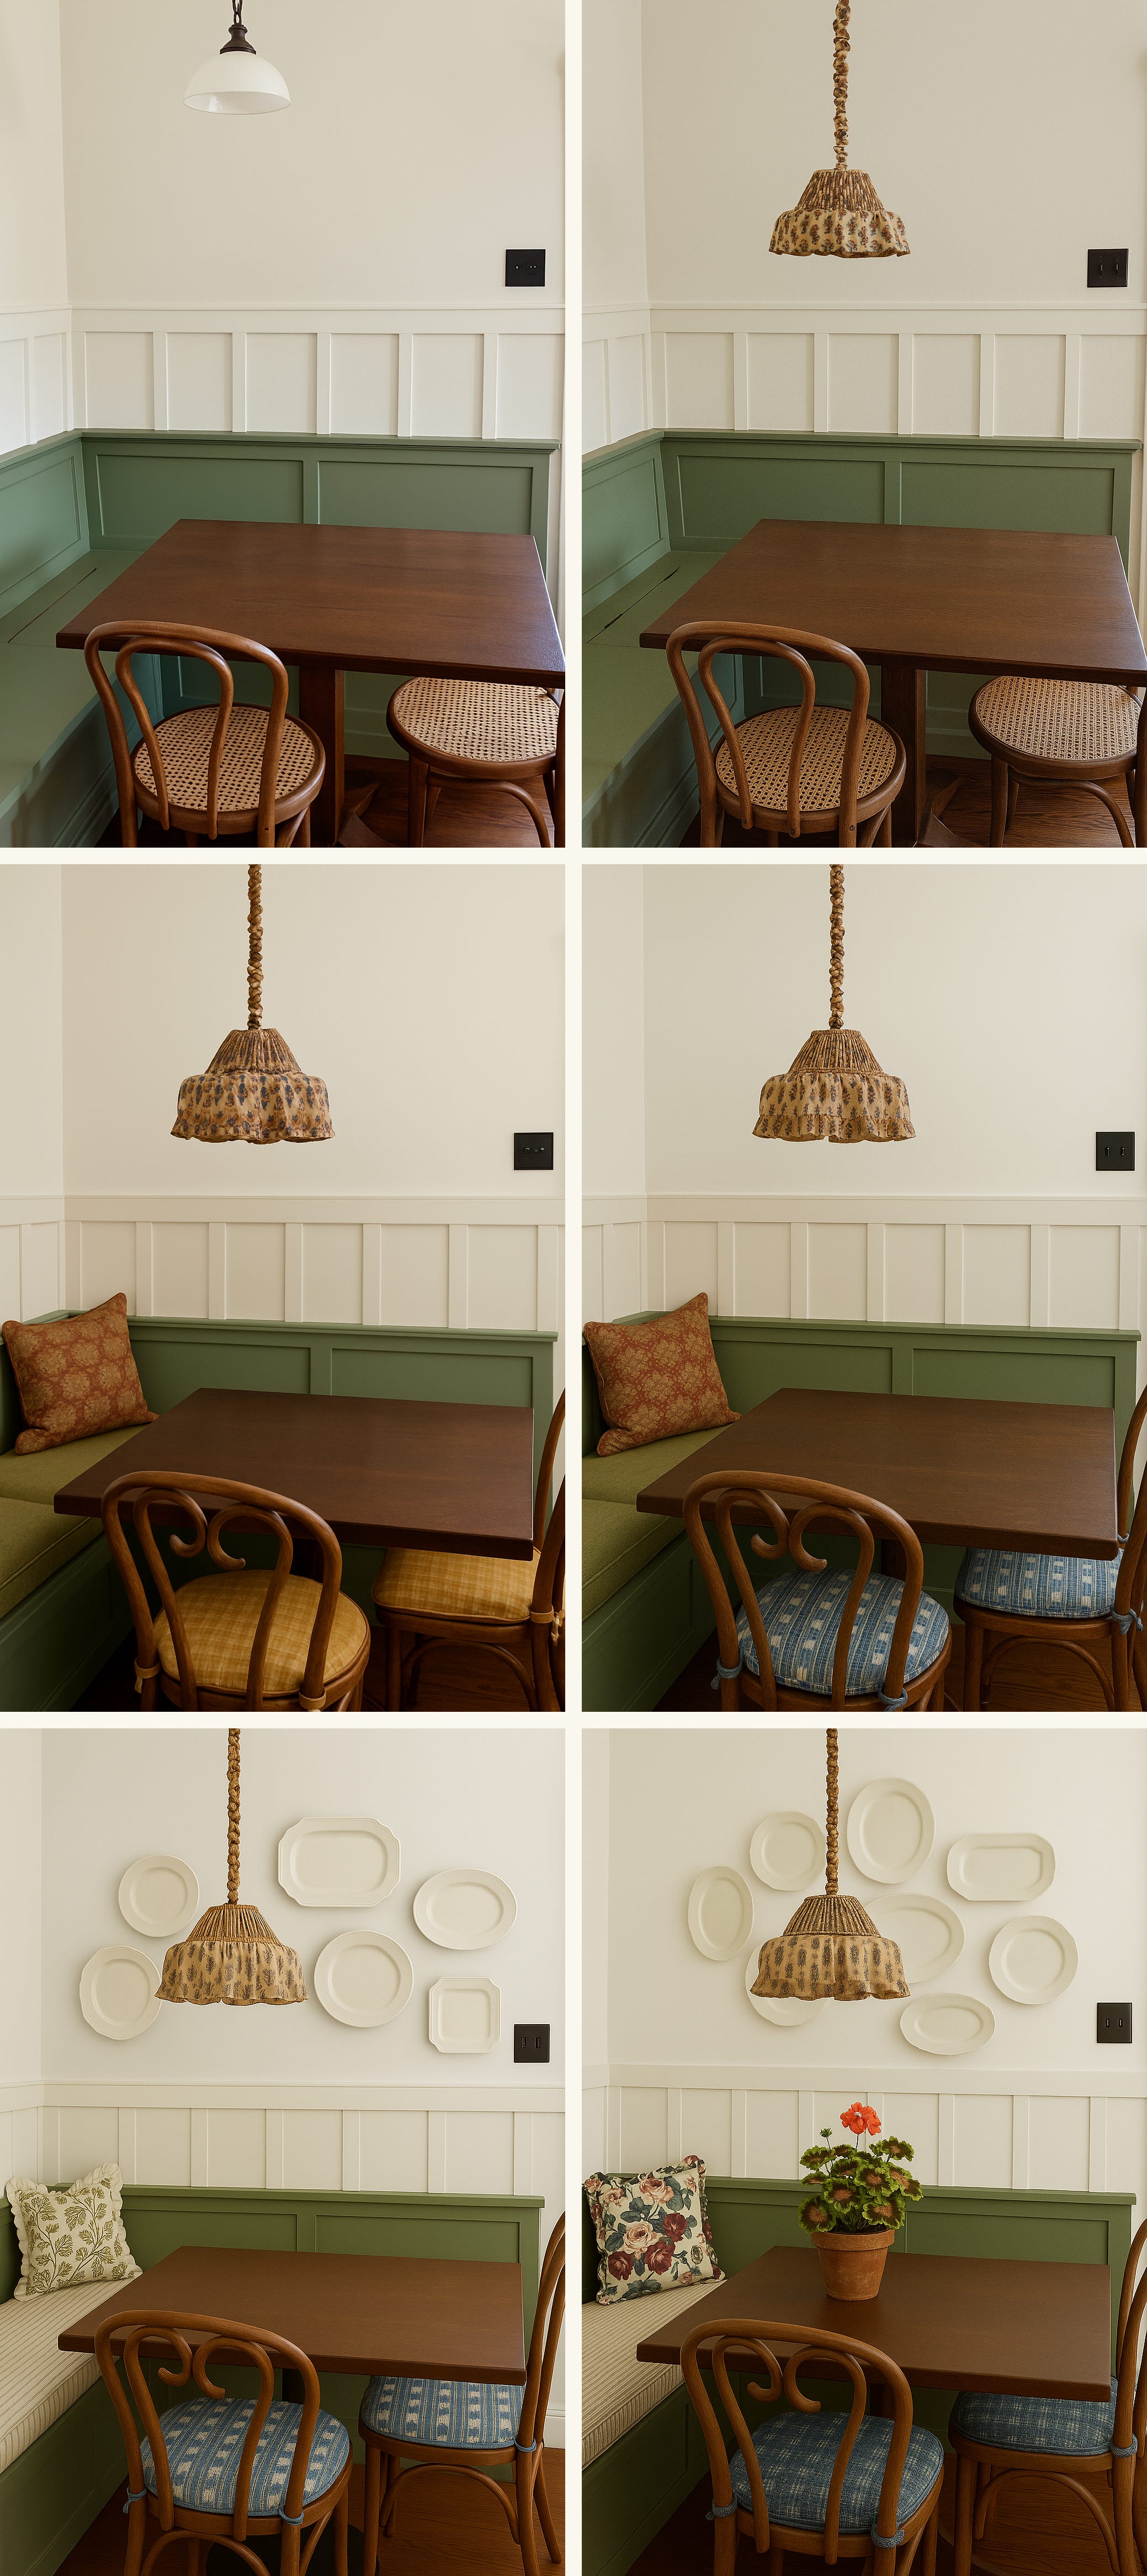
Following this approach, here’s how my room renderings evolved over the course of my chat.
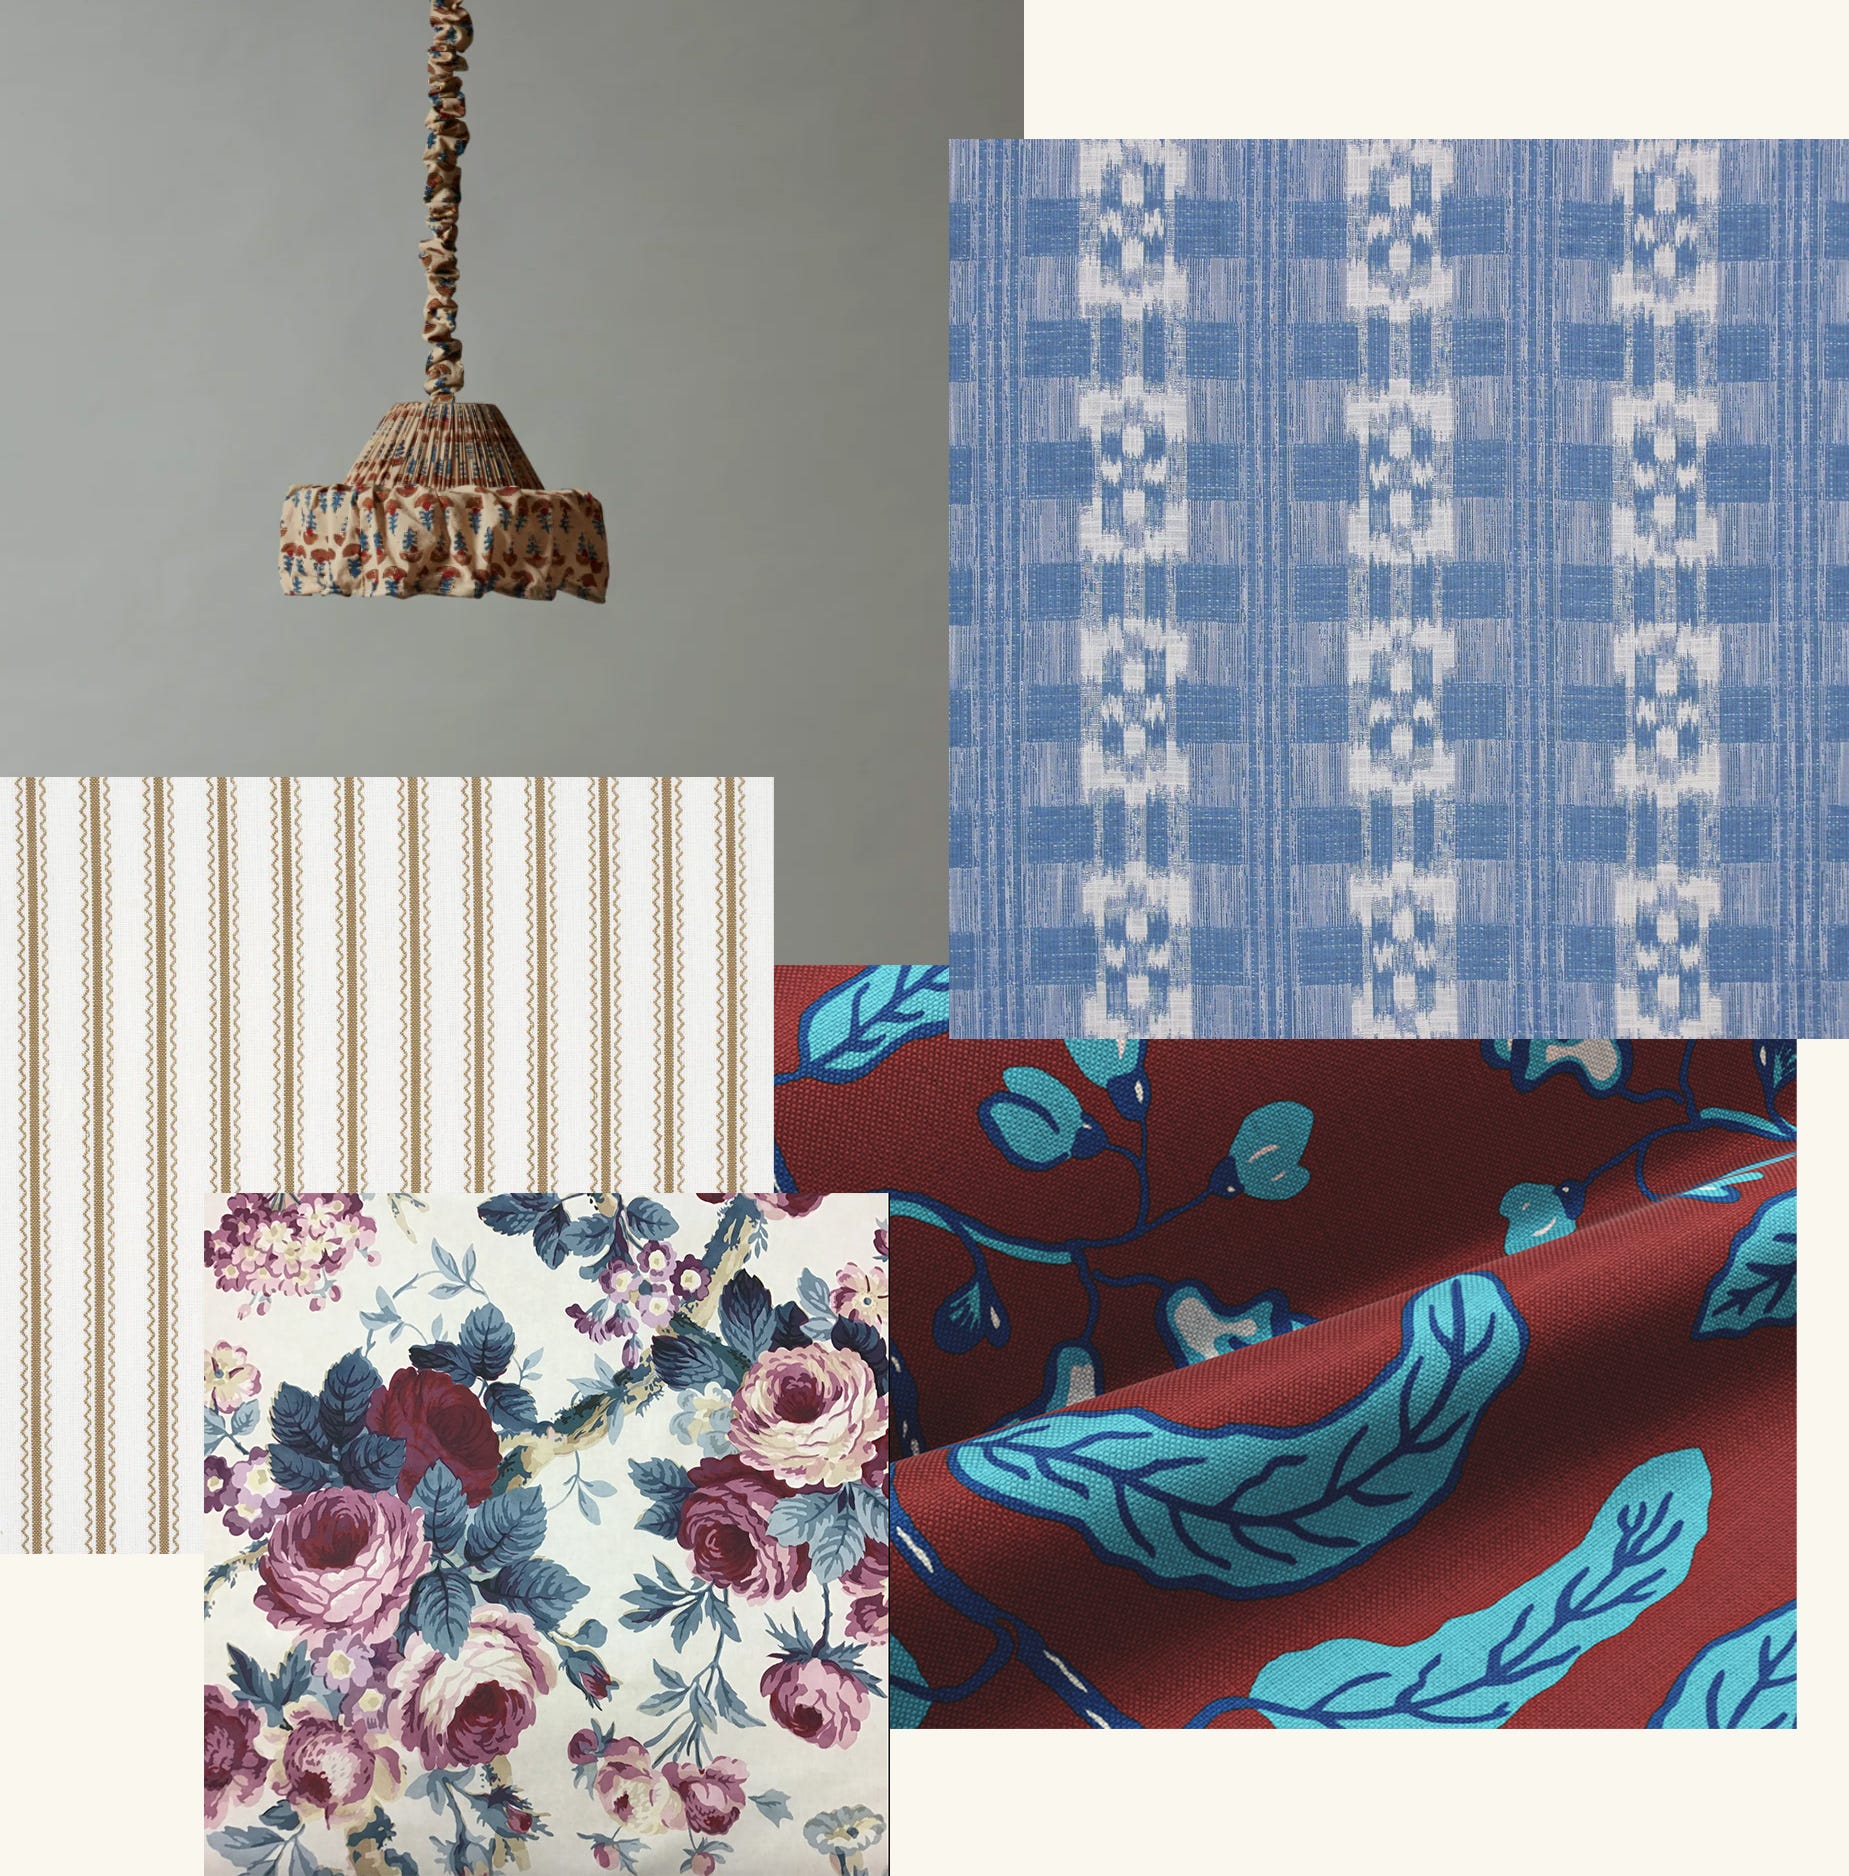
In terms of design elements, I used a mix of specific references that I uploaded as images with my prompts and a couple things I just asked ChatGPT to add for me. Here are the materials I specifically added to the room:
Then I asked ChatGPT to add a “vintage ironstone plate wall” and a “potted geranium in an antiqued terra cotta pot” to the image without providing specific references. It nailed the geranium on the first try, but I had to play with the plate wall a bit to get it to look how I wanted. This included things like asking Chat to adjust the orientation of the arrangement from vertical to horizontal, center it on the back wall, etc.
In total, the process took me a few hours. Here’s the final rendering I landed on:
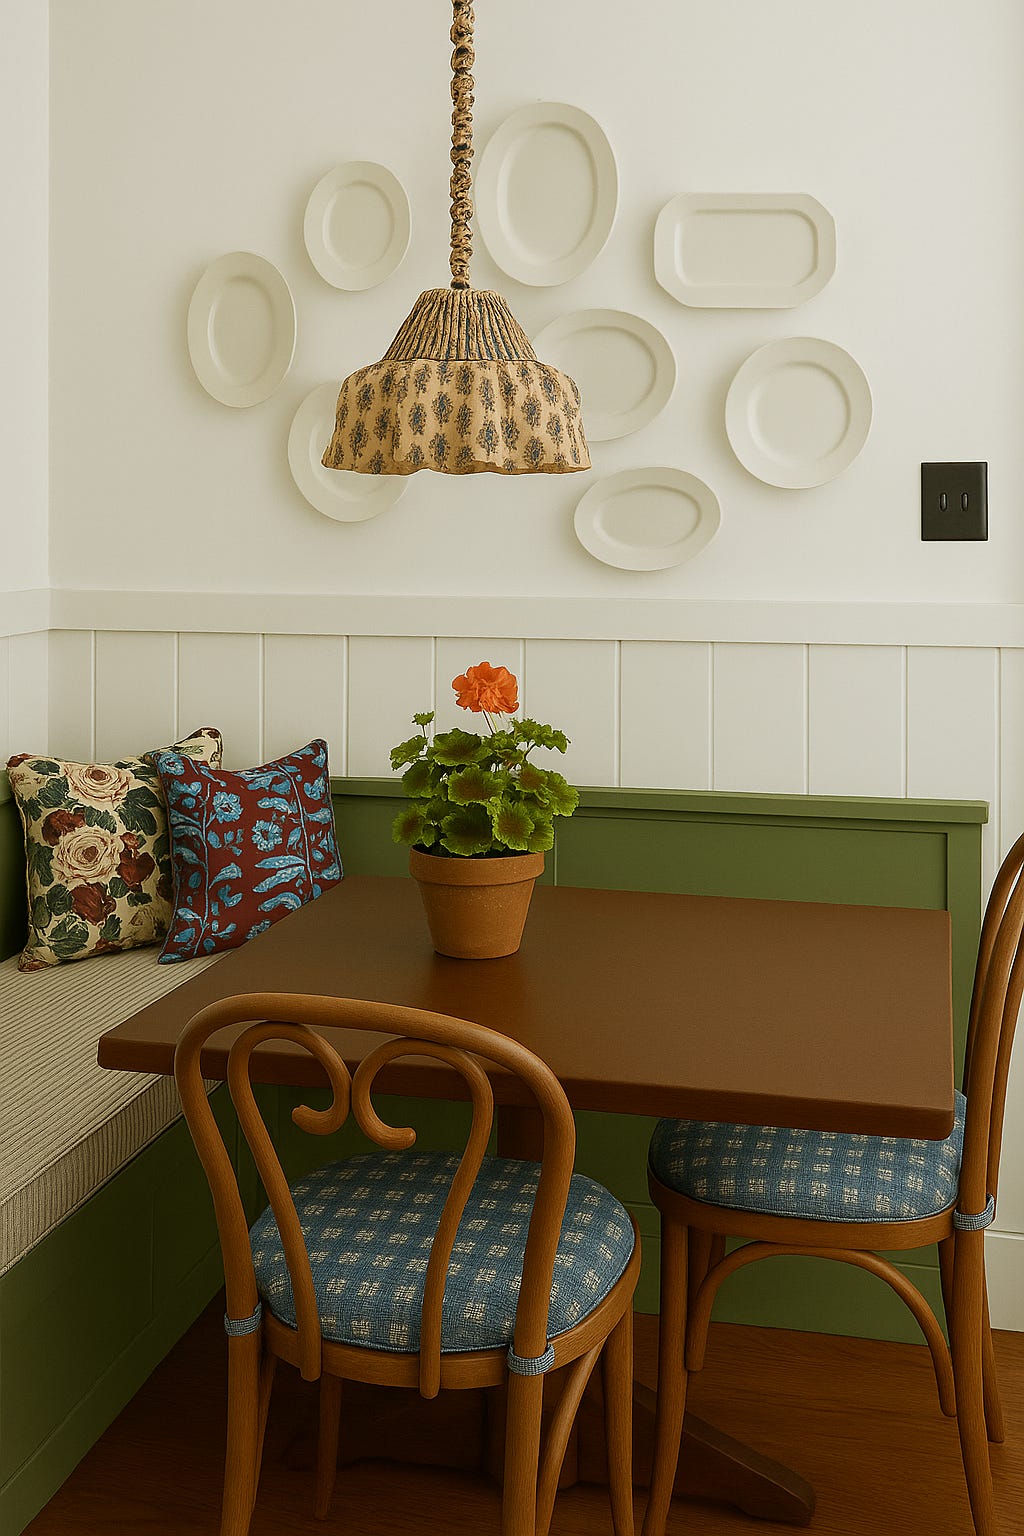
It took some trial and error and it’s not perfect, but I do feel like it provides a very clear idea of what these design elements would look like in my space for a relatively small amount of work (I anticipate this process will only get faster as I practice more). I know I’ll be using this as a tool moving forward for all my design projects.
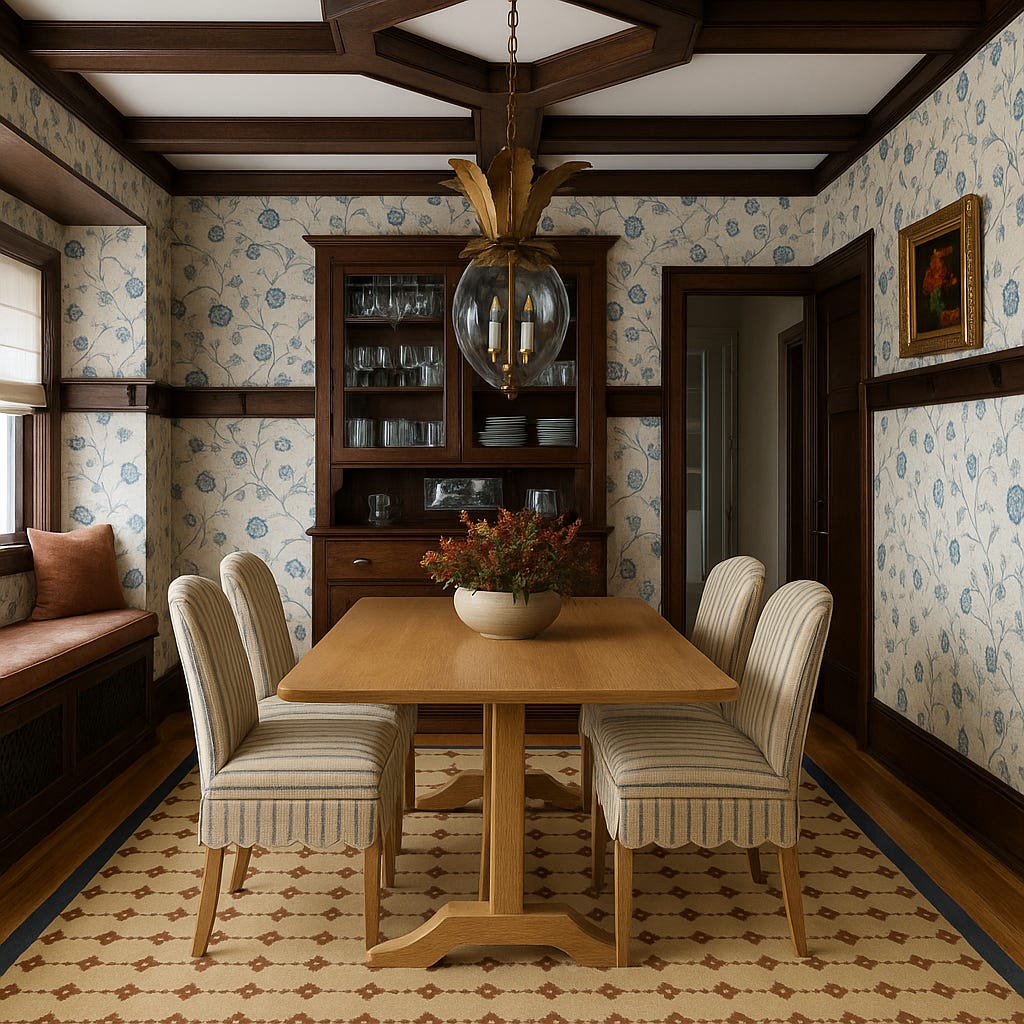
I’ve already started playing around with some dining room design ideas…
What do you think? Have you used ChatGPT in this way yet? Are you interested in doing this the next time you’re trying to imagine how a certain wallpaper pattern or fabric option will look in the three-dimensional context of your space? Let me know!
This is such a helpful post!
Fascinating. Thanks for breaking down the steps. I’d give it a try for sure!